Lightroom Mobile App se Classic Brown Tone Effect Photo Editing Kese Kare
Lightroom Mobile App ek powerful photo editing tool hai jo beginners aur professionals dono ke liye kaafi useful hai. Agar aap apni photos ko ek stylish aur classic brown tone effect dena chahte hain, toh yah process kaafi asaan hai. Niche diye gaye steps ko follow karke aap apni photos ko ek unique look de sakte hain:
Step 1: Lightroom Mobile App Download aur Install Kare
Sabse pehle, aapko Lightroom Mobile App download karna hoga. Ye app iOS aur Android dono par available hai. App download hone ke baad, apna account create karein ya existing Adobe ID se login karein.
Step 2: Photo Import Karein
- App open karne ke baad, “Add Photos” option par click karein.
- Apni gallery se woh photo select karein jisme aap brown tone effect apply karna chahte hain.
- Photo import hone ke baad, editing tools ke liye photo par tap karein.
Step 3: Basic Adjustments Karein
Editing shuru karne se pehle, photo ke exposure aur basic settings ko adjust karna zaroori hai:
- Light Panel:
- Exposure: “+0.50” ya apne photo ke hisaab se.
- Contrast: “+15”.
- Highlights: “-30”.
- Shadows: “+20”.
- Whites: “-10”.
- Blacks: “+10”.
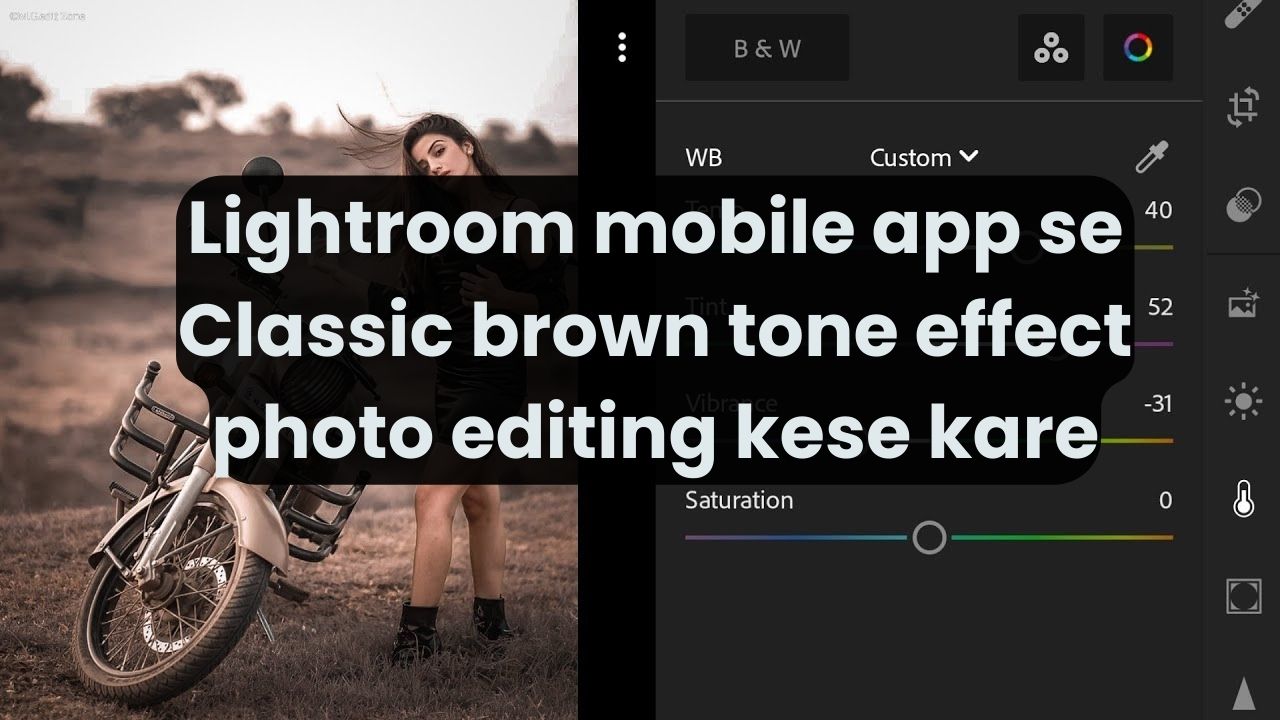
- Color Panel:
- Temperature: “+15”.
- Tint: “+10”.
- Vibrance: “+25”.
- Saturation: “-10”.
Step 4: Tone Curve Adjustments
Tone Curve ek advanced feature hai jo colors aur contrast ko fine-tune karne mein madad karta hai:
- “Curve” option par jayein aur RGB curve select karein.
- Shadows ko thoda lift karein aur highlights ko adjust karein taaki photo mein soft tones aayein.
- Red, Green, aur Blue channels ko individually adjust karke warm aur vintage look create karein.
Step 5: HSL (Hue, Saturation, Luminance) Adjustments
HSL tool ka use karke specific colors ko modify karein:
- Hue:
- Reds: “+10”.
- Oranges: “-10”.
- Yellows: “-30”.
- Saturation:
- Reds: “-20”.
- Oranges: “-10”.
- Yellows: “-40”.
- Luminance:
- Reds: “+15”.
- Oranges: “+20”.
- Yellows: “+30”.
Step 6: Split Toning
Split toning ka use karke highlights aur shadows mein brownish tones daalein:
- Highlights: Hue “30” aur Saturation “20”.
- Shadows: Hue “40” aur Saturation “25”.
Step 7: Effects aur Final Touches
- Texture: “+10”.
- Clarity: “+20”.
- Dehaze: “+5”.
- Grain ko add karke photo mein vintage feel laayein (Grain: “20”).
Step 8: Export aur Save Karein
Editing complete hone ke baad, photo ko export karein aur apne device par save karein. Share karte waqt apne watermark ko add karna na bhulein.
Corel PaintShop Pro: Photo Tools Aur Features Ka Istemaal Kese Kare
Corel PaintShop Pro ek professional-grade photo editing software hai jo kaafi versatile aur user-friendly hai. Ye software beginners aur advanced users ke liye kaafi effective hai. Niche kuch important tools aur features ka overview diya gaya hai jo aapki photo editing aur creative projects ko enhance karenge:
Interface Aur Navigation
Corel PaintShop Pro ka interface intuitive aur customizable hai. Iske 3 primary workspaces hain:
- Photography Workspace: Beginners ke liye simple aur asaan.
- Essentials Workspace: Basic aur quick edits ke liye.
- Complete Workspace: Advanced tools aur features ke liye.
Basic Tools ka Istemaal
- Crop Tool:
- Photo ke unwanted parts ko crop karne ke liye use karein.
- Rule of Thirds ya Golden Ratio guides ka use karke composition improve karein.
- Straighten Tool:
- Crooked photos ko align karein.
- Resize Tool:
- High-quality resizing options ka use karke images ko scale karein.
Advanced Editing Tools
- Layers and Masks:
- Layers ka use karke non-destructive editing karein.
- Layer masks ka use karke specific areas ko hide ya reveal karein.
- Selection Tools:
- Freehand Selection aur Magic Wand ka use karke precise selections banayein.
- Clone Brush:
- Unwanted objects ko remove karne ke liye clone brush ka use karein.
Color Correction Aur Enhancement
- Adjust Panel:
- Brightness, Contrast, aur Saturation adjust karein.
- Color Balance Tool:
- Shadows, midtones, aur highlights ka color adjust karein.
- White Balance:
- Temperature aur Tint sliders ka use karke accurate white balance set karein.
Retouching Tools
- Makeover Tools:
- Red Eye Removal: Red-eye effect ko asani se remove karein.
- Blemish Remover: Skin imperfections ko smooth karein.
- Skin Smoothing:
- AI-powered skin smoothing tools ka use karke natural aur flawless look create karein.
Creative Effects aur Filters
- Instant Effects:
- Pre-designed filters ka use karke photo ka overall mood aur style badlein.
- Text Tool:
- Stylish fonts aur effects ka use karke creative text overlays add karein.
- Gradients aur Patterns:
- Backgrounds aur overlays mein gradients aur patterns ka use karein.
AI-Powered Features
- AI Upsampling:
- Low-resolution images ko high-resolution mein convert karein.
- AI Artifact Removal:
- Compression artifacts ko remove karke clarity improve karein.
- AI Style Transfer:
- Artistic effects ka use karke photos ko ek painting jaise look mein convert karein.
Photo Restoration Tools
- Scratch Remover:
- Old photos ke scratches aur spots ko remove karein.
- Fade Correction:
- Faded colors ko enhance karein.
Export aur Sharing Options
Editing ke baad, apni final image ko save karein ya directly social media platforms par share karein. Corel PaintShop Pro multiple file formats ko support karta hai, including JPEG, PNG, TIFF, aur PSD.
Conclusion
Lightroom Mobile aur Corel PaintShop Pro dono hi unique aur powerful tools offer karte hain jo aapke photo editing process ko simplify karte hain. Lightroom Mobile ke presets aur real-time editing features beginners ke liye perfect hain, jabki Corel PaintShop Pro advanced tools aur AI-powered features ke saath professionals ke liye ideal hai. In dono tools ka effectively use karke aap apne photos ko ek professional touch de sakte hain.
Classic brown tone Lightroom mobile photo editing 2025 preset download free